
Earthdate: 11/08/2019
The Seeker Sanctuary has evolved over the past nearly two decades of its existence. It originally was contained to a small glass hutch sitting on my desk, then a random assortment of shelves spread over the house.
After seeing the damage that UV can do to a few special figures, the collection was gathered up and displayed in the mater bedroom. Once in there, I suddenly realised how gorgeous the collection could be if displayed as the treasure I saw it as.
There were many factors considered when it finally came to the display. What made it look good and did not cost an arm and a leg. It wasn't cheap but the money was well spent and I've never regretted it for a moment.
What could be used to light it - in retrospect, I should have gone with something not propitiatory such as the Ikea lights. They change their products frequently enough that, its hard to match something a few years later. In time I will look into strip lights.
What type of room I displayed it in, and how can I manage the UV light issue.
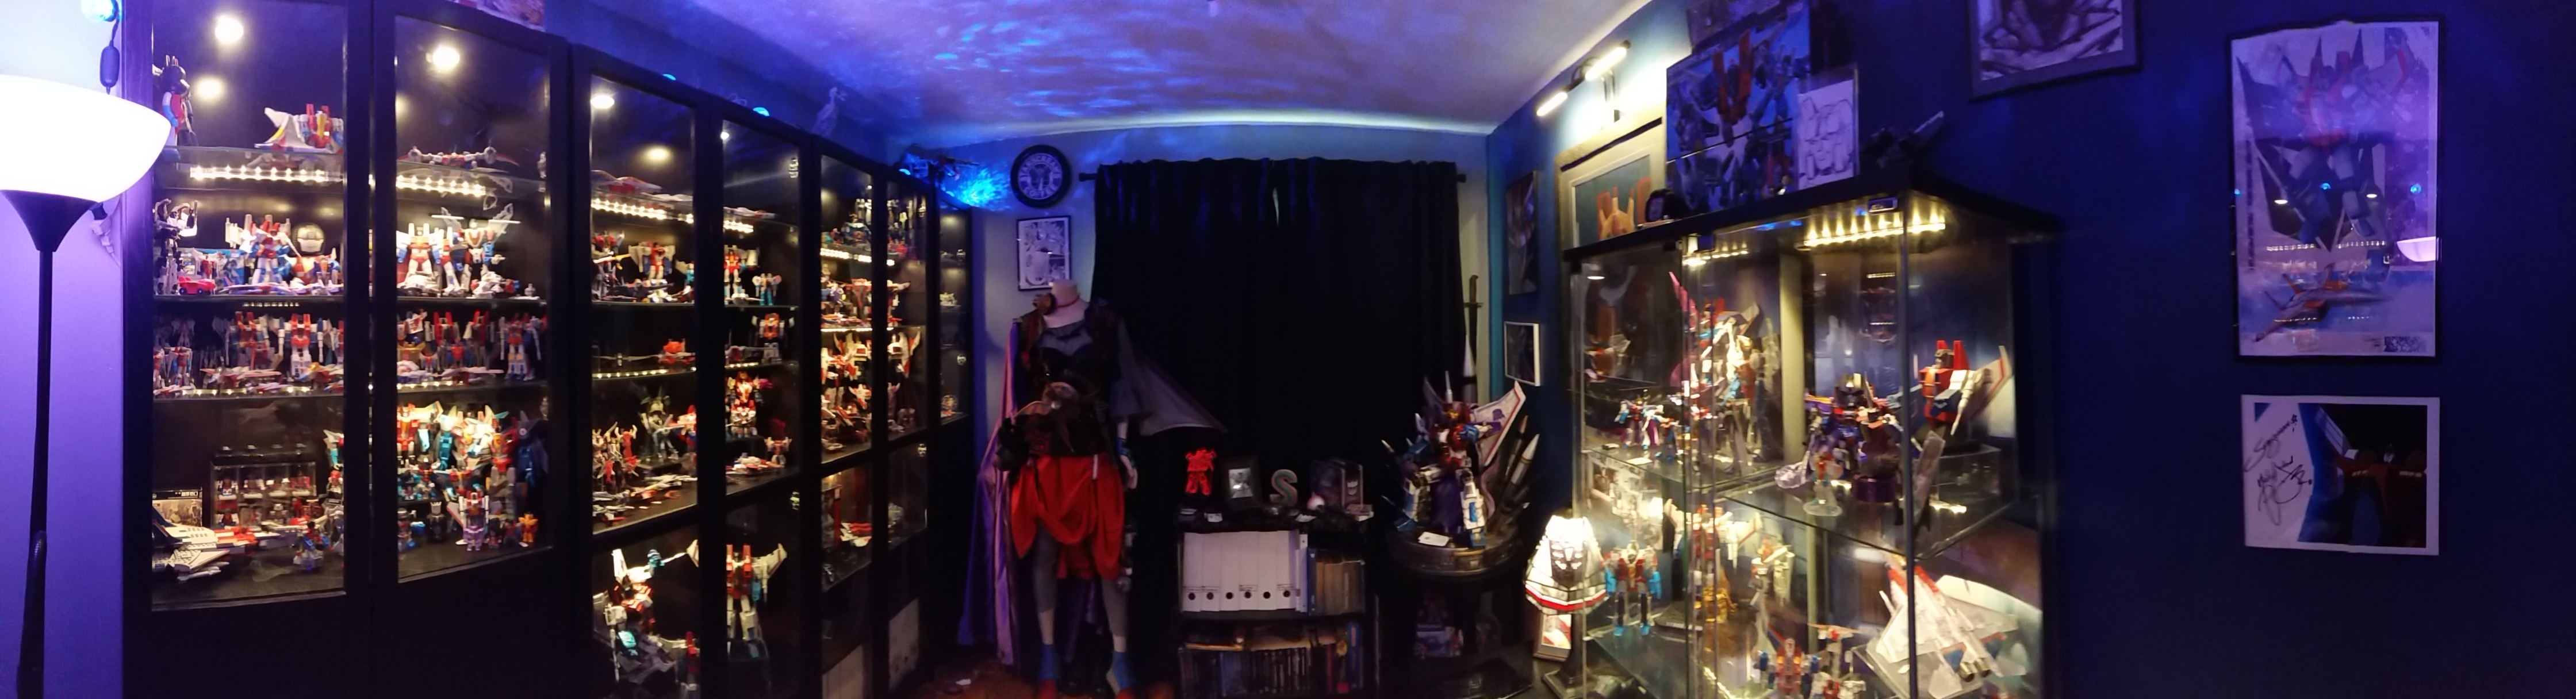
When we moved, I ensured we had a three bedroom house, one of the rooms was going to end up being the room for the collection. I am loathe to use a basement as basements often get flooded. The room we used is the smallest one. The dimensions of the room are eluding me. The room is large enough to take almost all of my cabinets, but not the shelf extensions.
The room itself got a coat of grey and blue paints in a similar theme to the website. After that was all said and done, it was nearly pointless to do the grey wall as the bookcases nearly hid the entire thing. Once up and the lights installed. The Collection could then be displayed. I choose to group the figures by series � more or less.
There is one west facing window in the room. The window is always open, but the blinds are always shut. I use a pair of blackout curtains over blinds to ensure unwanted light stays out. UV is very dangerous to plastics, causing yellowing, or in the case of rubber figures, disintegration.
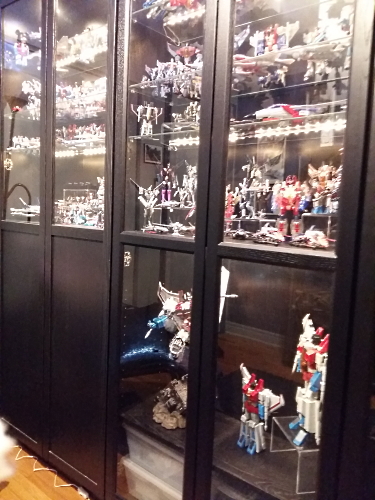
My original cabinets had half glass doors, and I would use the lower shelves as book shelves or storage. Since the room is small and space is limited, I have had start upgrading the cabinets with full glass doors in order to provide room for my collection. This is five years after my initial purchase, so the doors are not quite the same. I had to modify the cabinets in order to make it compatible. I'll discuss that procedure in detail in another article.
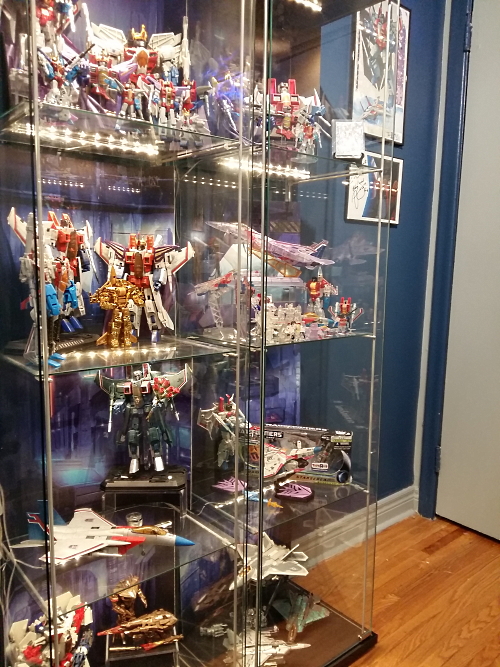
Aside of the bookcases, I use the Detolf glass cabinets, also from Ikea. Honestly, my everything is from Ikea. It is literally across the street so is easy to get to. I use backdrops from Reprolabels. inside the Detolfs. These are also lit up and the lights really make everything in the room pop!
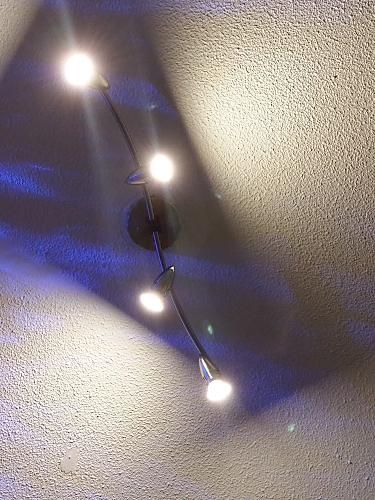
The lighting is something one needs to consider. In an age with LED's being so mainstream it's easy to get a lot of light, with low power and very little heat. LED's are now fairly inexpensive to purchase. All lights in the room are LED, and some are also RBG or static coloured LED. Most, not all, of the lights are on remote control systems. I can flick the lights on with a click of the remote. Which makes it great for getting se tup for visitors. The ceiling lights are swivel spots, so I can adjust their direction to point at things, such as the Imaginairum Art statue. I chose the ceiling lights because they sort of resembled a plane's nosecone.
Other aspects of the room include a reading chair, I mostly just sit into it and enjoy a new comic.
I think all in all, the display itself: the billy bookcases and detolfs, likely sit at around 1500 dollars (canadian). Its not cheap, but ultimately when you've invested a lot of money into your collection, then showcasing it in a beautiful manner is well worth that money spent.
~Sunstar
| Proudly Displayed | |
The Seeker Sanctuary
| |
Billy Bookcase
Detolf Pair
Spot lamps "nose cone"
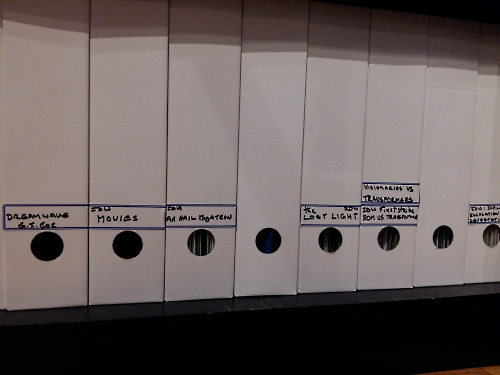
Orderly Comics
|
